Not Sure Which Angle Works? Try These Partner Photo Tips
Use simple partner photo tips to choose better angles, cleaner framing, and more natural compositions when taking phone photos.
By Pajoox Editorial Team · Jul 4, 2026
When you are taking a photo of your partner, the pose is only half of the shot. The angle decides how the scene feels, what the viewer notices first, and whether the photo looks casual, balanced, or accidentally awkward.
The good news is that better angles do not require advanced photography knowledge. You can improve most partner photos by moving your feet, changing phone height, cleaning up the background, and choosing a frame that matches the moment.
If you often think, I do not know where to stand, start with these simple angle and composition tips.
Step back before you zoom in
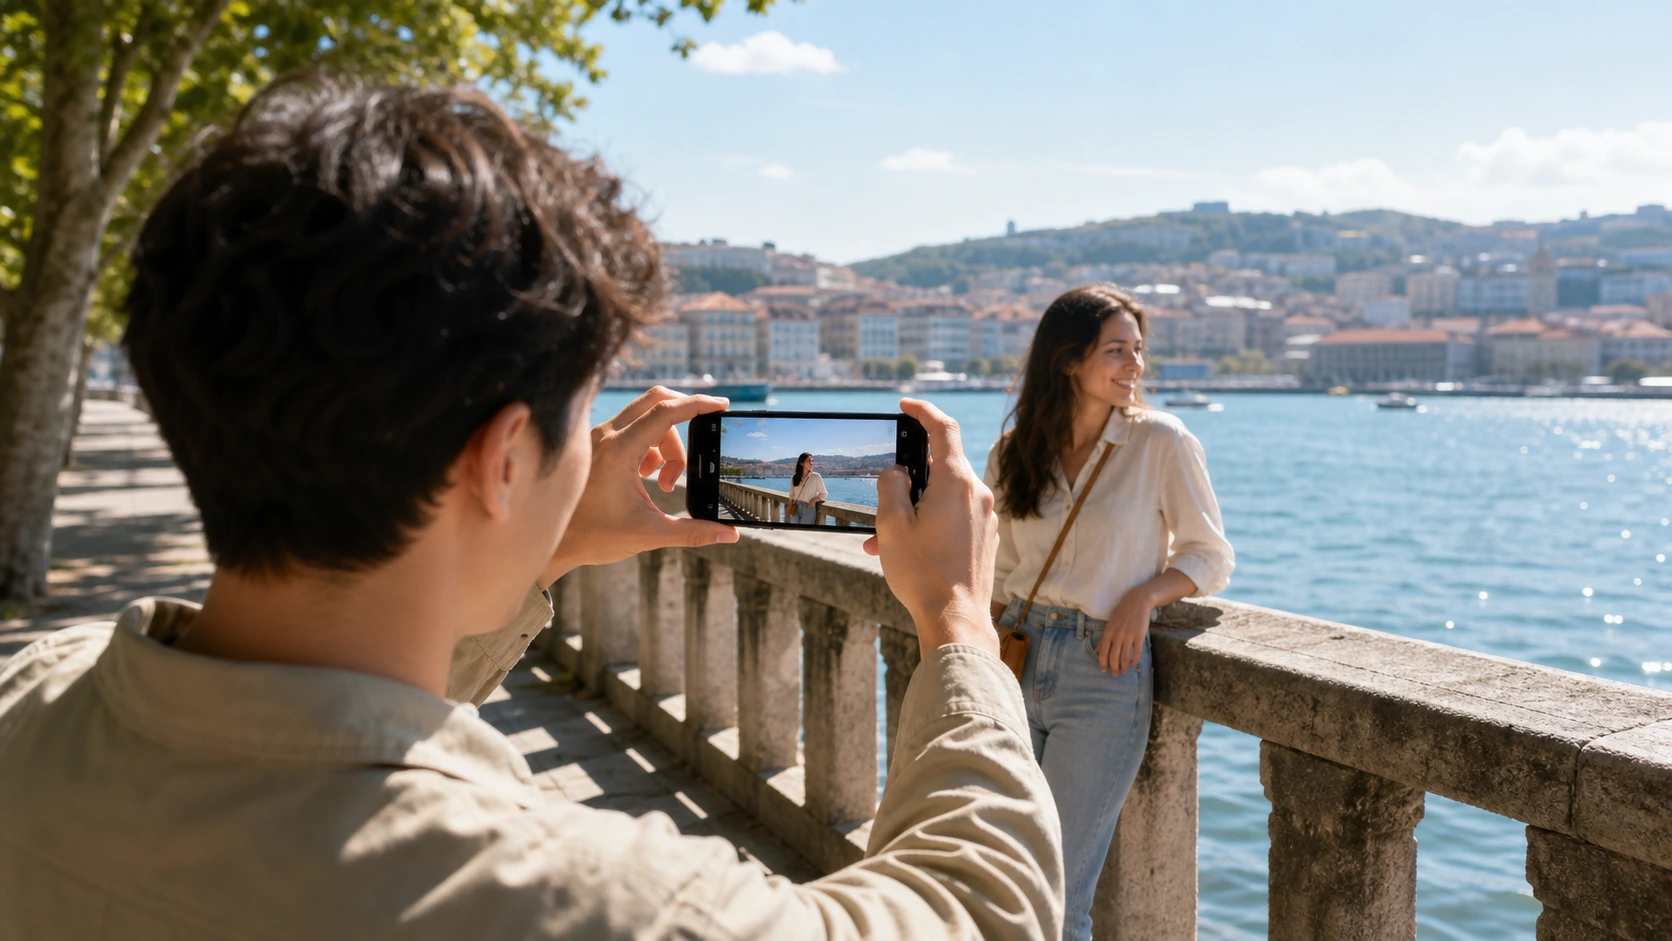
A common mistake is standing too close and trying to fit everything into the frame. This can make the photo feel tight and uncomfortable. Instead, step back first. Give your partner room in the frame, then decide whether the shot should be full-body, half-body, or closer portrait.
Stepping back helps in several ways:
- You can include more of the setting.
- You avoid awkward crops at feet, hands, or elbows.
- You give your partner space to move.
- You can see background distractions before taking the photo.
After stepping back, move slightly left or right. Sometimes a small side step removes a trash can, crowded sign, random person, or harsh line from the background.
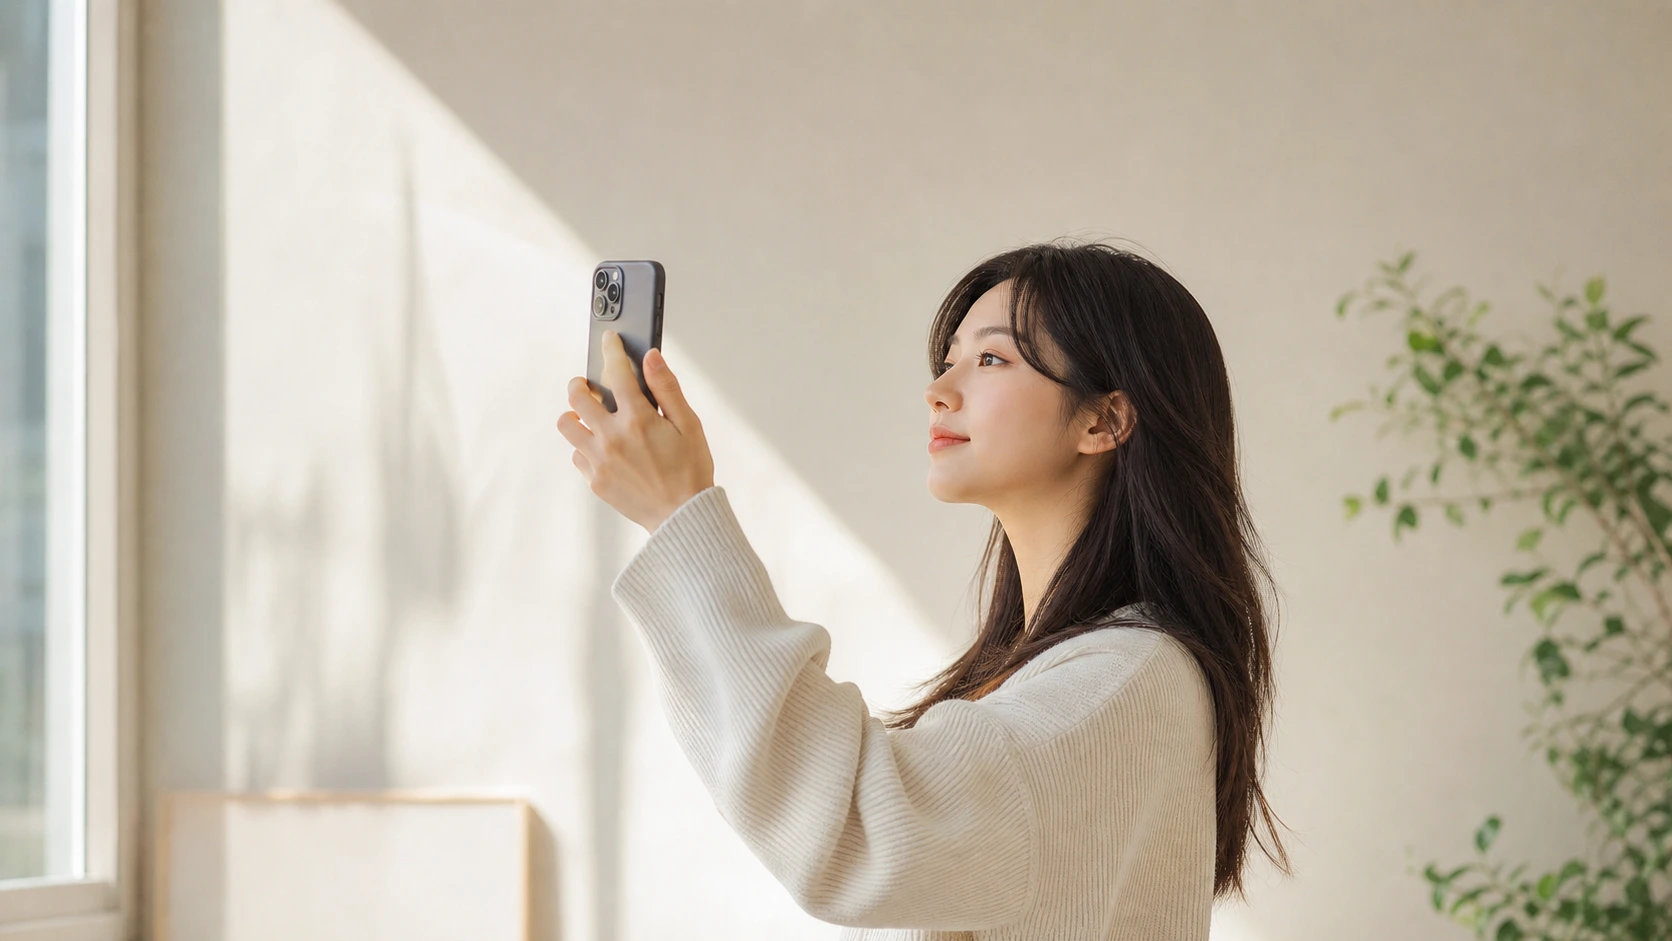
Use eye level for natural portraits
For close portraits, eye level is usually the safest starting point. Hold the phone around your partner’s eye level or just slightly above. This keeps the face and shoulders looking natural without making the shot feel overly dramatic.
Eye-level portraits are great for:
- Cafe photos.
- Travel portraits.
- Profile picture options.
- Casual date photos.
- Simple everyday memories.
Once you have a safe eye-level shot, you can try a second version from a slightly higher angle or a little off to the side. The first photo gives you a reliable option; the second gives you variety.
Use a lower angle carefully for full-body photos
For full-body photos, holding the phone too high can make the frame feel compressed. A slightly lower phone position can help the outfit and setting appear more balanced. The key word is slightly. You do not need an extreme low angle.
Try holding the phone between waist and chest height. Keep it straight, not tilted sharply upward. Step back enough to include the full body, and leave a little space above the head and below the feet.
A simple full-body angle checklist:
- Phone vertical for outfit or street photos.
- Camera kept straight.
- Full body included without cutting off feet.
- Background lines kept as clean as possible.
- Partner placed slightly off-center if the scene has depth.
This is especially useful for street photos, outfit photos, and travel shots where the location matters.
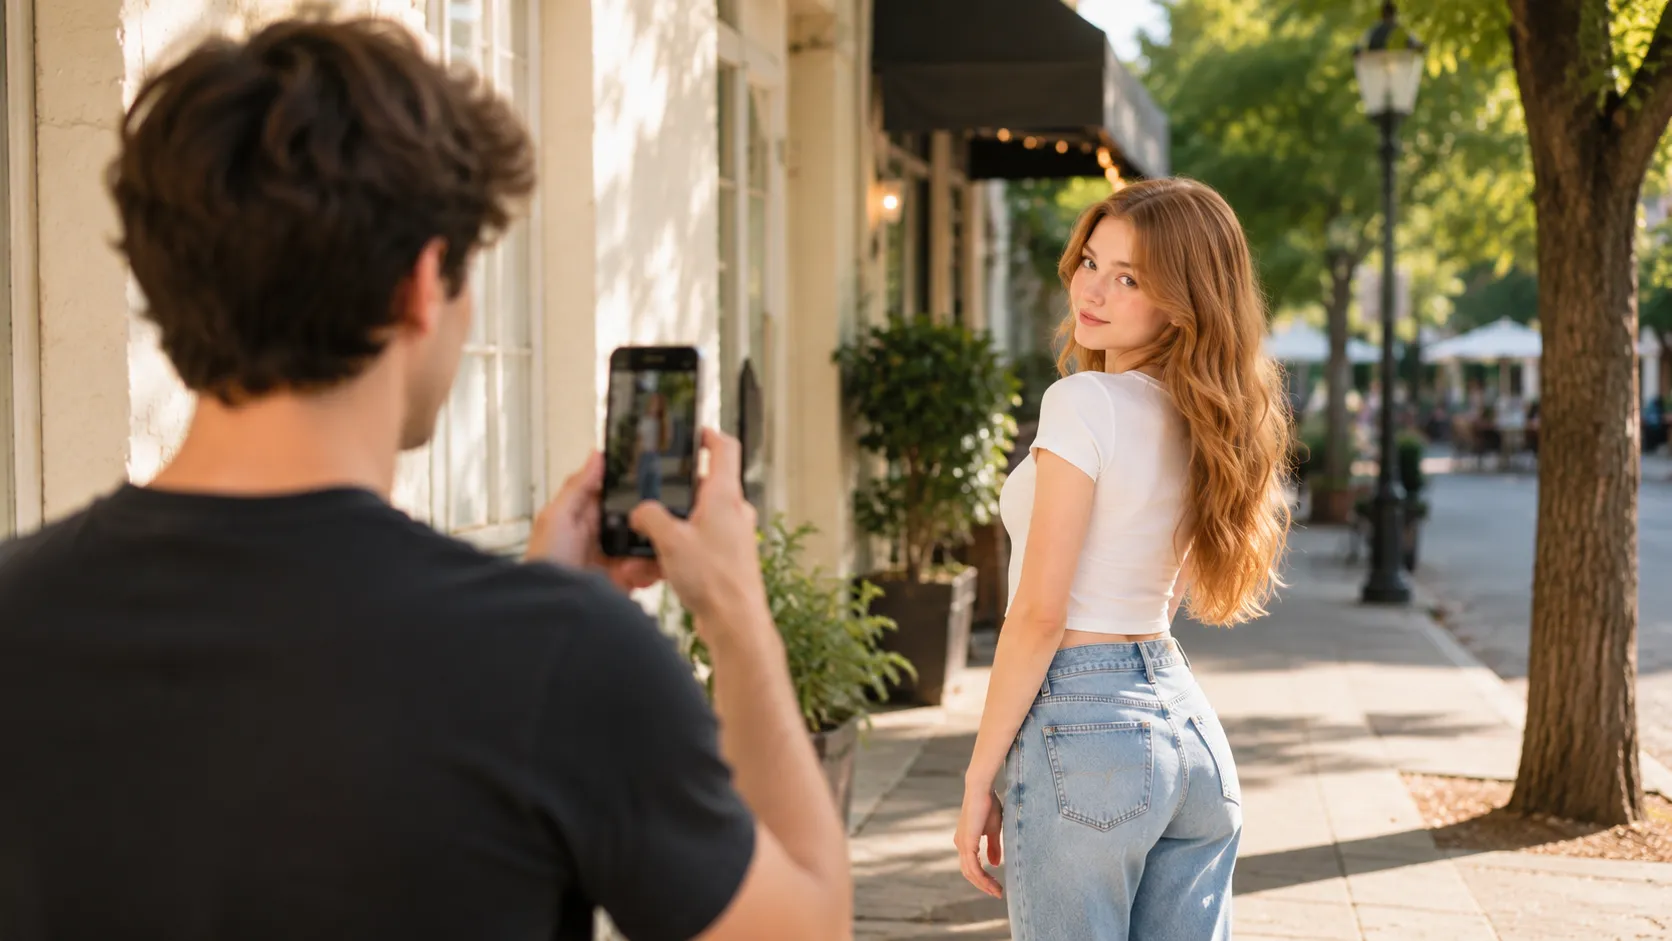
Turn your partner slightly instead of shooting straight on every time
Straight-on photos can work, but they may feel stiff if every shot uses the same angle. Ask your partner to turn their shoulders slightly, then angle their face back toward the camera. This creates depth and makes the pose feel less flat.
You can combine this with simple actions:
- Holding a bag strap.
- Looking over one shoulder.
- Taking a small step forward.
- Leaning lightly on a railing.
- Adjusting a jacket or sleeve.
The angle should support the pose. If the body turns slightly, position yourself so the frame captures that shape instead of flattening it from the wrong side.
Watch the background behind the head
One of the easiest ways to improve a photo is to check what appears directly behind your partner’s head. Poles, signs, tree branches, bright objects, or strong lines can make a good pose look messy.
Before shooting, pause for one second and scan the background. If something looks distracting, move yourself first. A tiny shift can place the background object to the side or hide it behind a cleaner area.
This matters more than people think because the viewer’s eye usually goes to the face first. A clean area around the face makes the photo feel calmer and more intentional.
Use leading lines when the location has them
Leading lines are natural lines in the scene that guide the eye through the photo. They can be sidewalks, railings, building edges, stairs, bridges, paths, or rows of lights.
To use them, stand where the lines point toward your partner or create depth behind them. Ask your partner to walk, stand, or lean near the line rather than directly blocking it.
Good places for leading lines:
- City streets.
- Hotel hallways.
- Train platforms.
- Park paths.
- Bridges and waterfronts.
- Staircases.
You do not need to explain the concept while shooting. Just notice the lines and use them to make the photo feel more structured.
Match the angle to the story
Different angles tell different stories. A wide shot says, look at this place we visited. A full-body shot says, here is the outfit and the moment. A close portrait says, here is the expression. A candid side angle says, this was happening naturally.
Before taking the photo, ask yourself what the photo is really about:
- The person?
- The outfit?
- The place?
- The mood?
- The two of you together?
Once you know that, the angle becomes easier. If the place matters, step back. If expression matters, move closer. If the outfit matters, keep the full body cleanly framed. If the mood matters, include movement and expression.
Take angle variations in a simple sequence
Instead of guessing one perfect angle, take a small sequence:
- Wide scene shot.
- Full-body vertical shot.
- Half-body shot.
- Close portrait.
- Candid movement shot.
This takes less time than overthinking and gives your partner more choices. The best photo is often not the one you expected.
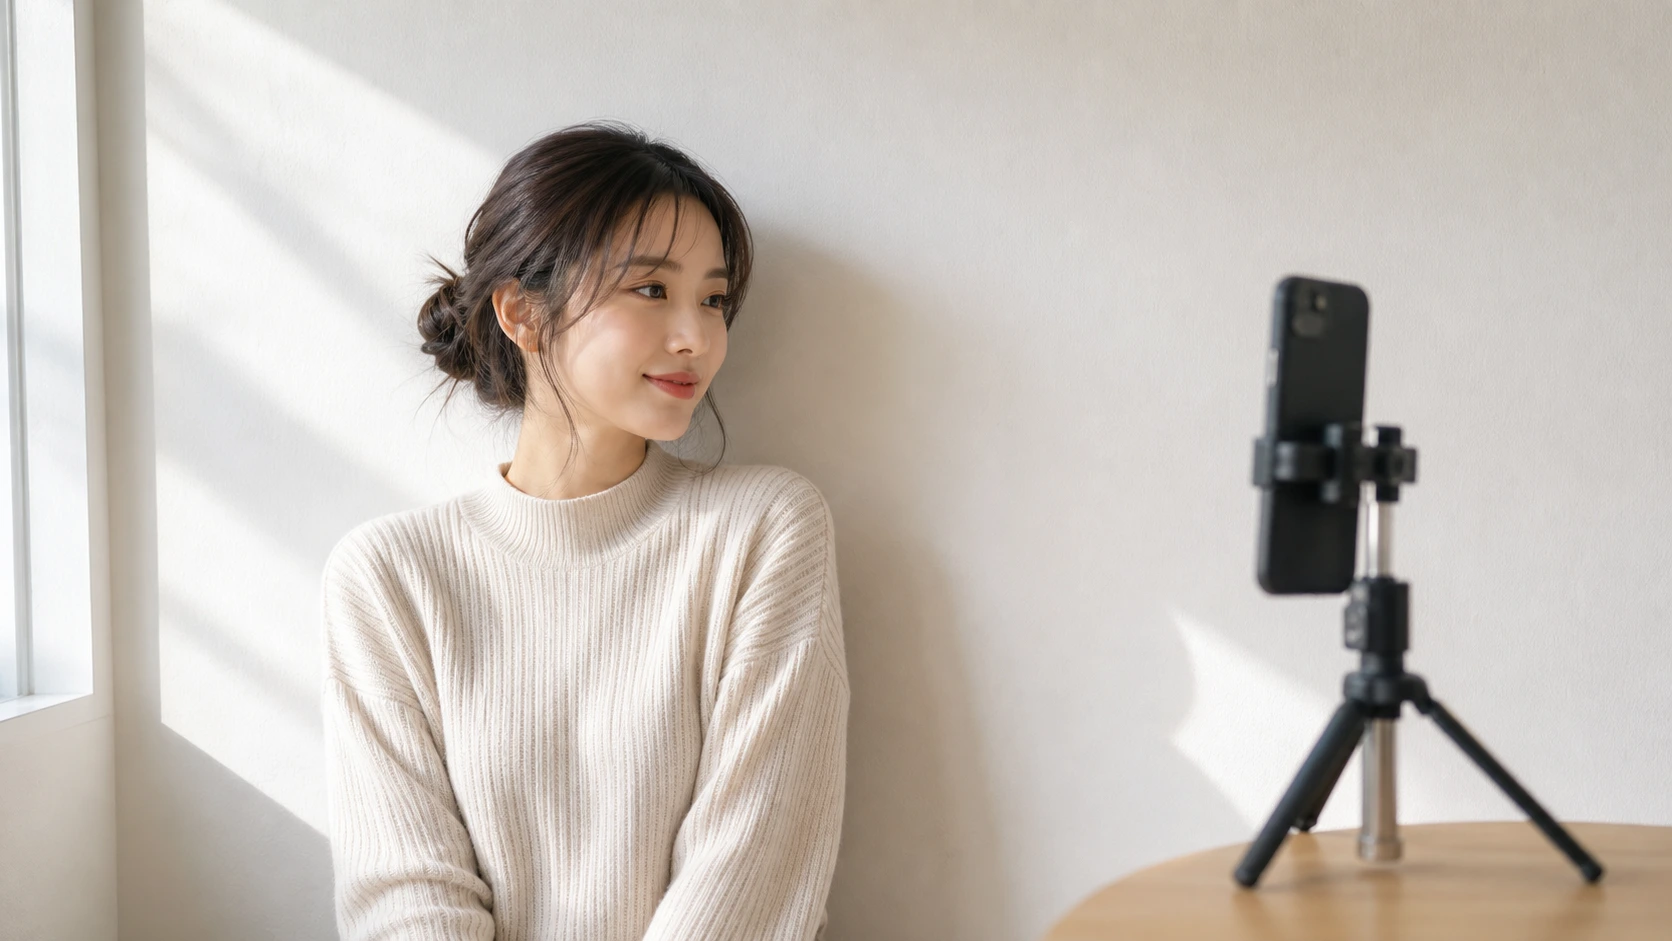
How Pajoox can help with angle decisions
Choosing the right angle in a real place can be hard because the scene changes quickly. People walk by, light shifts, and the background may look different through the phone screen than it does in person.
Pajoox helps users plan better shots with pose ideas, angle guidance, and composition suggestions. Its AI-powered support can help identify practical options, such as where to place the subject, how to frame the scene, and what kind of pose may fit the setting.
The value is not that AI takes the photo for you. The value is that you get unstuck faster, so you can focus on making the real moment feel comfortable and photo-worthy.
A quick partner photo angle checklist
Before you press the shutter, check:
- Am I standing too close?
- Is the phone height right for this shot?
- Is the camera tilted too much?
- Is anything distracting behind the head?
- Does the frame show the person, place, or mood clearly?
- Did I take at least two angle options?
Better partner photos come from small choices. Move a step. Lower or raise the phone. Clean up the background. Try one safe angle and one creative angle. These simple adjustments can make your photos feel more natural, thoughtful, and easy to keep.