Beach Photo Poses: Natural Ideas for Seaside Photos
Try natural beach photo poses for shoreline walks, sitting on the sand, sunset photos, and relaxed seaside moments, with simple framing tips.
By Pajoox Editorial Team · Jul 17, 2026

A beach gives you plenty to work with: open sky, moving water, soft sand, wind, reflections, and long stretches of shoreline. But that much space can also make posing feel surprisingly difficult. You may stand in front of the water and realize you are repeating the same smile, stance, and straight-on photo.
The most natural beach photo poses usually begin with movement. Walking beside the water, turning toward the breeze, sitting near the shoreline, or looking out at the view gives your body something simple to do. The goal is not to create a complicated pose. It is to let the seaside setting become part of the photo.
Start With a Shoreline Walk
Walking along the edge of the water is one of the easiest ways to create relaxed beach photos.
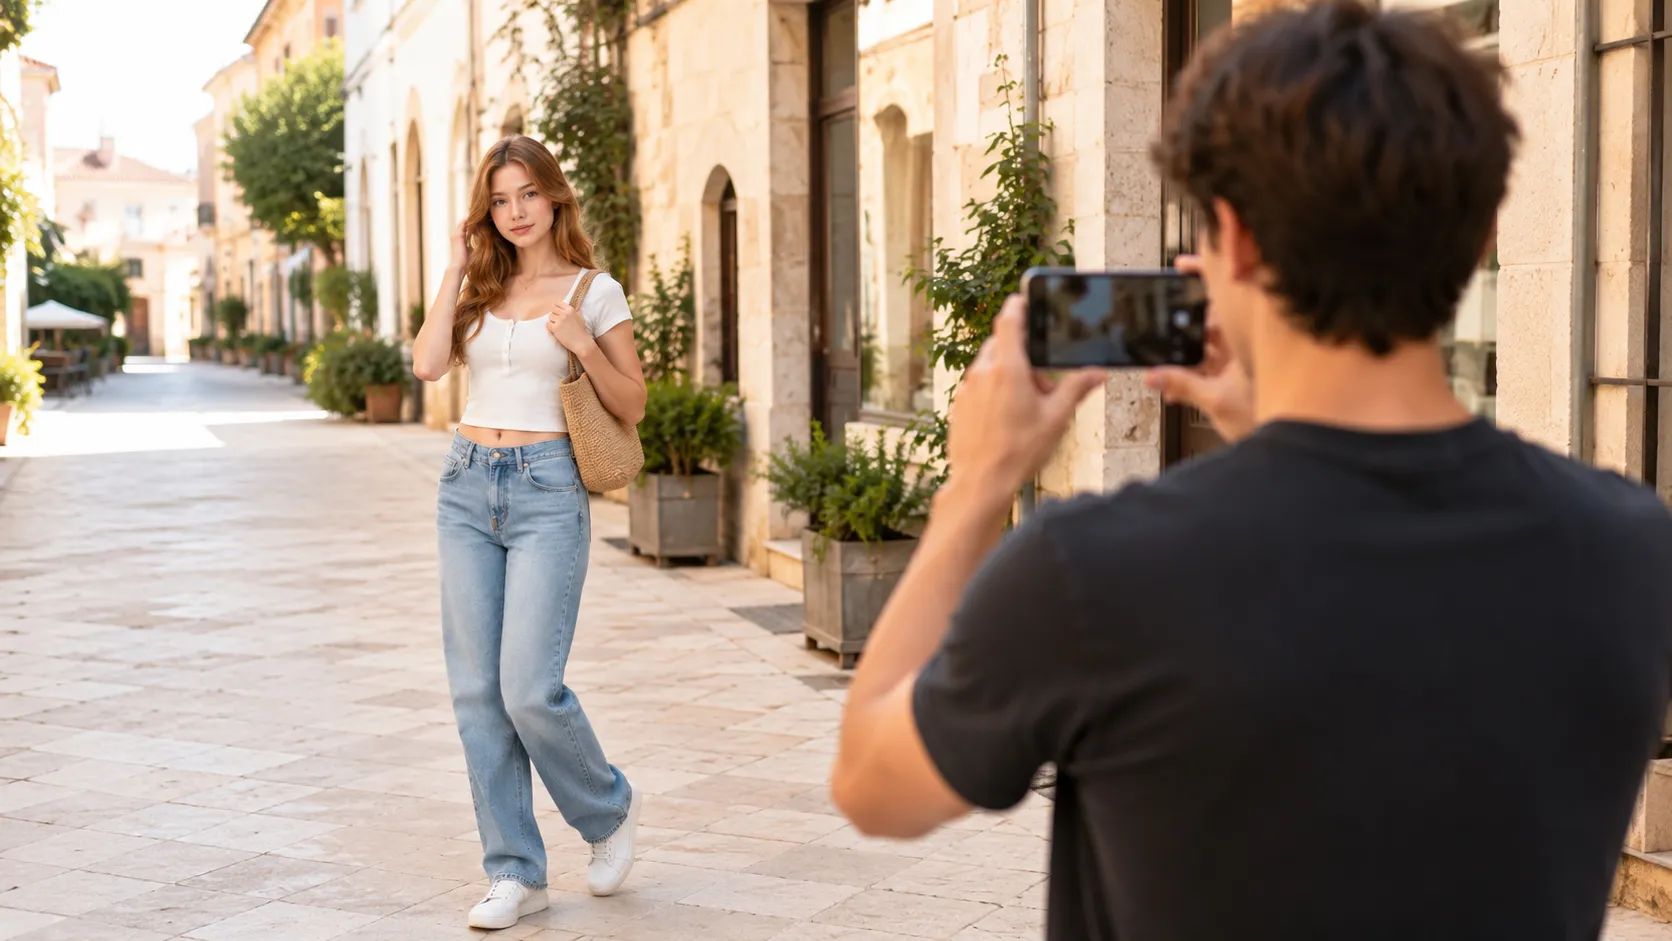
Ask the photographer to stand slightly ahead of you or off to one side. Walk slowly along the shoreline and let your arms move normally. Look toward the water, ahead of you, or briefly back at the camera.
Try a few variations:
- walk toward the photographer
- move across the frame
- walk away and look back
- carry your shoes at your side
- pause as the water reaches the sand
Smaller steps are easier to photograph than fast movement. The photographer can take several frames as you approach, turn, and continue walking. The moments between those actions often look more natural than a pose held in place.
Turn Toward the View
A beach photo does not always need a camera-facing smile. Turning toward the ocean can make the image feel calmer and give more attention to the location.
Stand at a slight angle, shift your weight onto one leg, and look toward the horizon. You can keep both arms relaxed, hold a hat, or move your hair away from your face if the wind picks up.
Take one photo from behind, one from the side, and one as you turn back toward the camera. Leave enough space in front of the direction you are looking so the composition does not feel crowded.
Use the Wind Instead of Fighting It
Wind is part of the beach, so everything does not need to stay perfectly still.
Use one natural adjustment as the action. Turn slightly into the breeze, hold the edge of a light layer, steady a hat, or brush your hair back once while the photographer takes several photos.
Keep the movement simple. If the wind becomes uncomfortable, turn so it comes from the side or move closer to a sheltered area.
Try an Easy Sitting Pose
Sitting works well when standing poses begin to feel repetitive.
Choose a dry, safe area away from incoming waves. Sit with your body angled slightly rather than facing the camera completely straight. Bend your knees loosely, extend one leg a little farther, or rest one arm lightly beside you.
Natural actions include:
- looking toward the water
- drawing a small shape in the sand
- adjusting a hat or sunglasses
- resting your hands loosely around your knees
- turning back toward the photographer
Ask the photographer to lower the phone slightly so the angle feels connected to your seated position.
Use a Look-Back Pose
The look-back pose works especially well because the shoreline creates a clear direction.
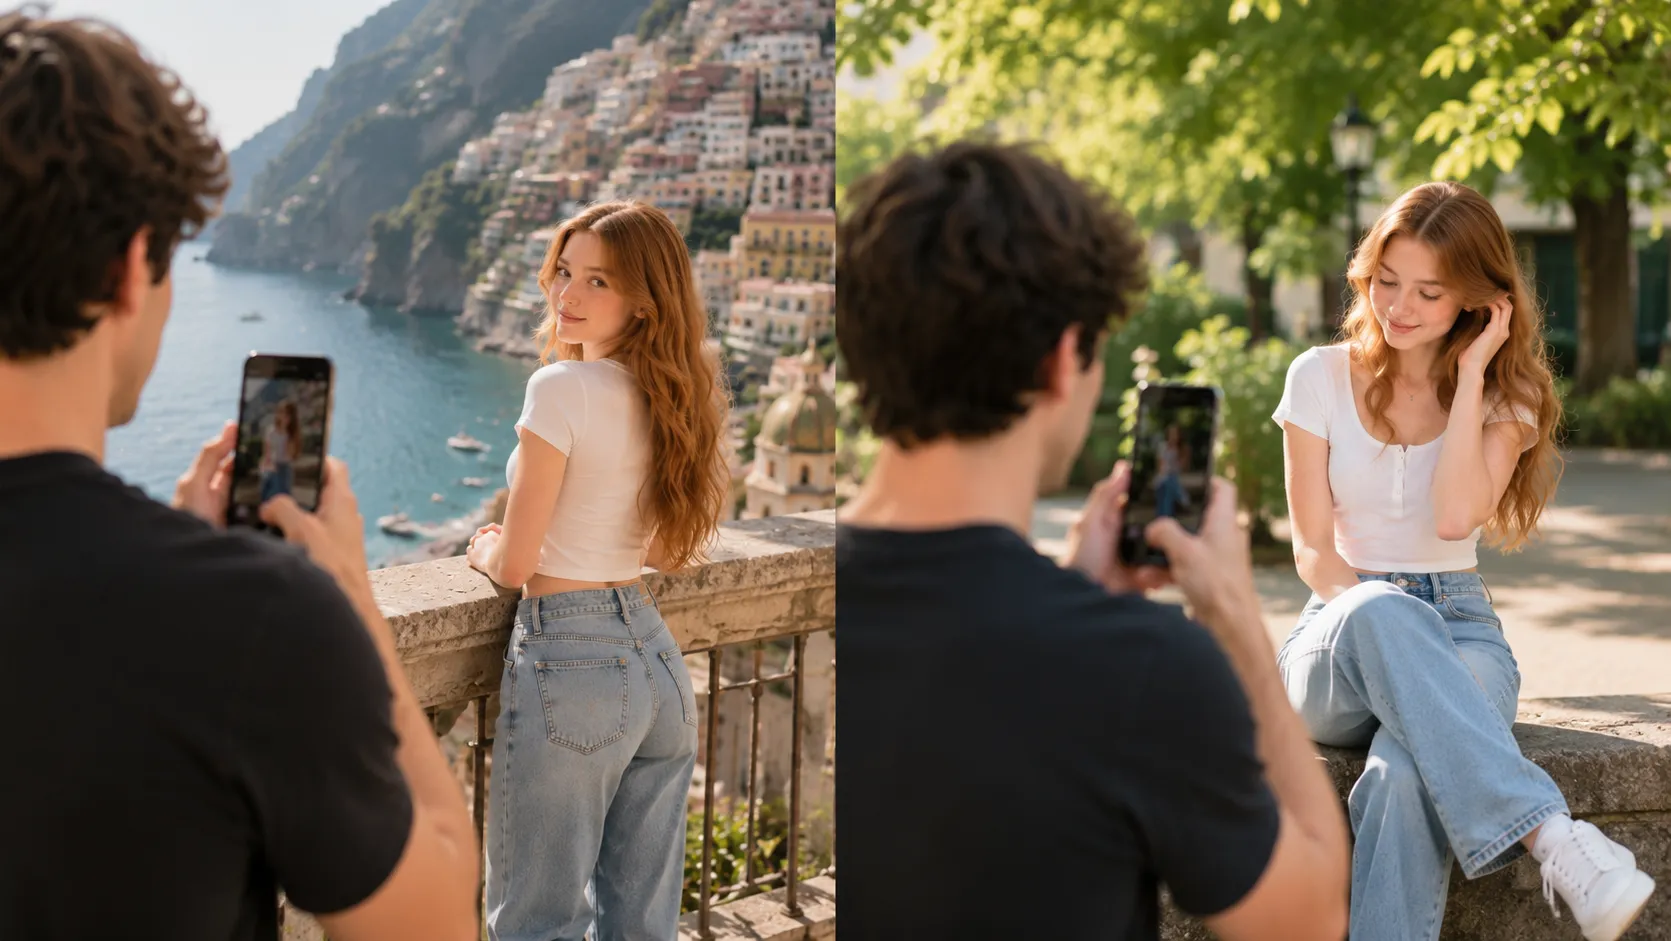
Begin by facing away from the camera. Take one or two slow steps, then turn your head and shoulders back gently. Avoid twisting too far or freezing in the final position.
The photographer can capture the turn as it happens. For a wider photo, place yourself to one side of the frame and leave space for the sea, sky, or curve of the beach.
Add Small, Repeatable Movement
You do not need a long stretch of empty beach to add motion.
Try one simple action:
- step toward the water and back
- turn in a slow half-circle
- lift a light scarf or outer layer briefly
- take a few steps toward a friend
- sit down or begin to stand
- look down, then back toward the camera
The photographer should keep taking photos through the transition rather than waiting only for the end position.
Keep the Horizon Straight
The horizon is one of the strongest lines in a beach photo. When it tilts unintentionally, the image can feel unbalanced.
Before taking the picture, check where the water meets the sky. Use the phone’s grid if available, and keep the horizon level unless you deliberately want a tilted composition.
Also check where the horizon crosses the person. Moving the phone slightly higher or lower can prevent a strong line from cutting awkwardly through the head or shoulders.
Choose the Right Phone Distance
Beach photos often improve when the photographer steps back.
Try three versions:
- A wide photo that establishes the beach.
- A medium photo showing the full pose.
- A closer photo for expression or small details.
Moving the phone is usually better than relying heavily on digital zoom. The photographer can also shift left or right to simplify the background or use the shoreline as a leading line.
Work With the Available Light
Bright midday sun can create strong shadows and make it difficult to keep your eyes relaxed. When possible, take photos earlier in the morning or later in the afternoon, when the light often feels softer.
In stronger light, turn slightly instead of facing the sun directly. Look for open shade near a beach structure, wall, or umbrella, as long as the area is permitted and safe.
Near sunset, try both a softly lit portrait and a silhouette. For a silhouette, place the brighter sky behind the person and use a clear body shape, such as standing, walking, or turning toward the water.
Stay Safe and Respect the Beach
A good photo should not require standing somewhere unsafe.
Stay away from unstable rocks, strong waves, cliffs, restricted dunes, and protected wildlife areas. Watch the tide and keep phones, bags, and other belongings above the waterline. Do not block paths or disturb other visitors for a photo.
If conditions change, move the setup rather than forcing the original idea.
Find a Pose That Fits the Beach in Front of You
A wide sandy beach, rocky coast, quiet cove, and busy resort shoreline all offer different possibilities.
Before choosing a pose, look at the real scene:
- Is the shoreline straight or curved?
- Is the wind creating useful movement?
- Would sitting, walking, or looking toward the view fit best?
- How much sky and water should remain visible?
- Is the light better from the front, side, or behind?
Pajoox helps you explore pose ideas, phone angles, composition guidance, and visual references based on the scene in front of you. Instead of copying a beach pose that does not fit the location, you can begin with the actual shoreline, light, and available space.
Final Thoughts
The best beach photo poses are often the simplest: walk beside the water, turn toward the horizon, sit comfortably on the sand, or look back while moving.
Let the wind, shoreline, and light become part of the picture. Take wide, medium, and close versions, and keep photographing while moving between poses. The most natural frame may happen before you think you are ready.