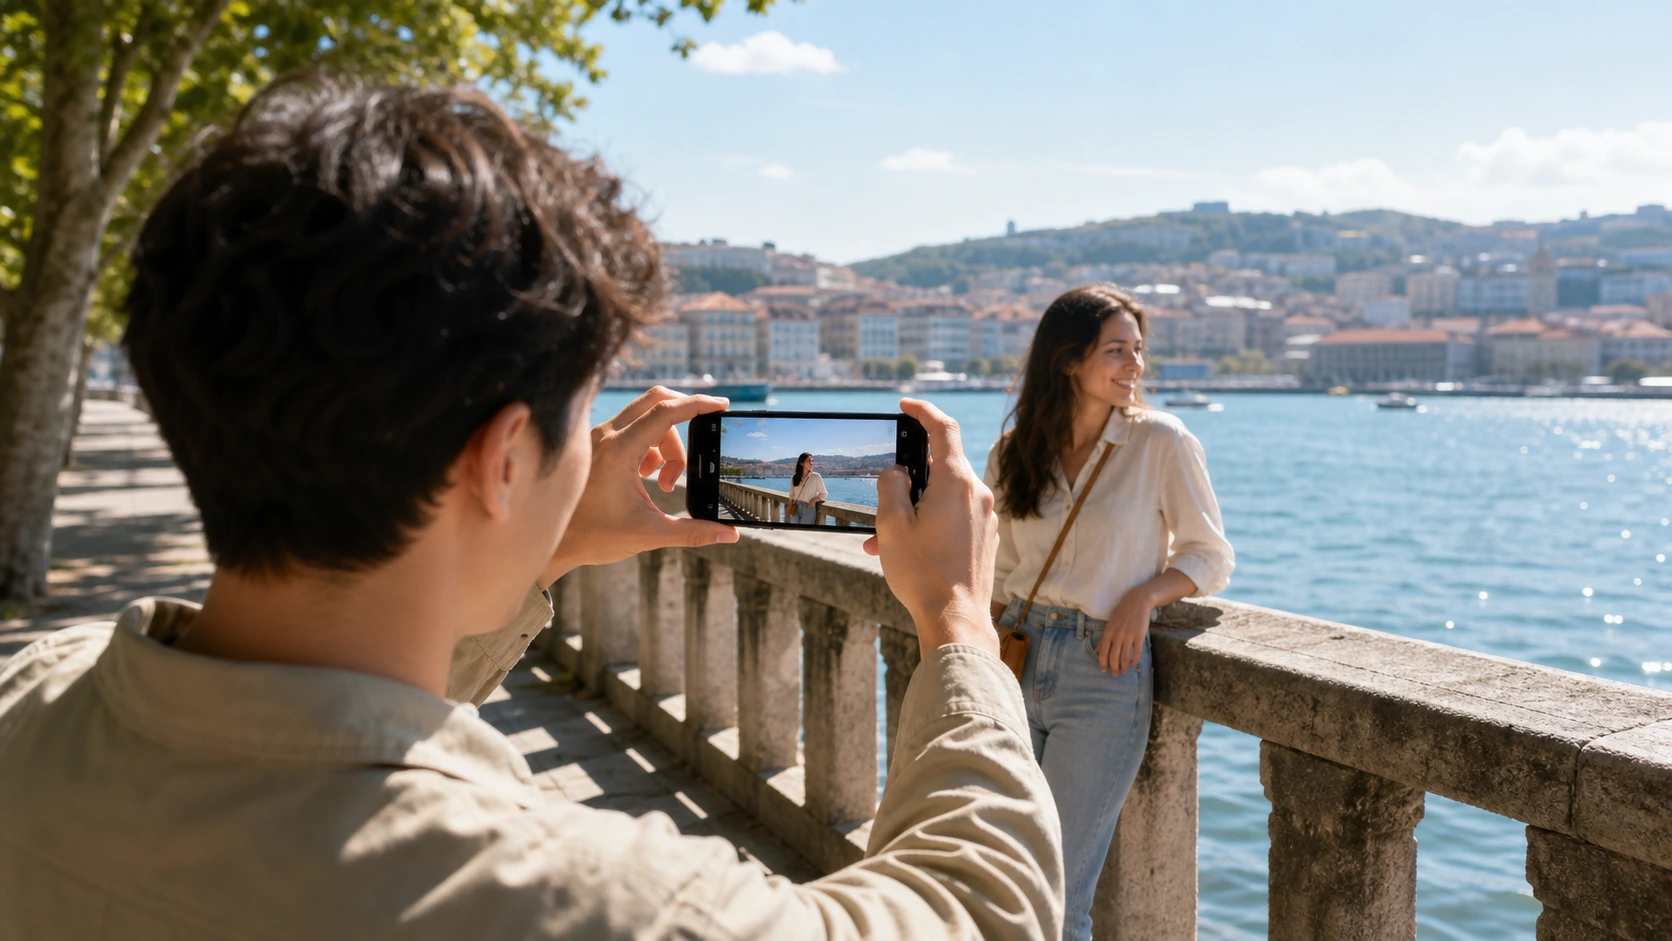
How to Take Better Beach Photos With Your Phone
Learn how to take better beach photos with your phone using simple tips for light, horizon lines, camera distance, composition, and movement.
By Pajoox Editorial Team · Jul 18, 2026

Beach photos can look effortless until you try to take one. The sky is bright, the water reflects sunlight, the wind keeps changing, and the person in front of the camera may appear much darker than the background.
You do not need professional equipment to handle these conditions. Better beach photos usually come from a few practical choices: finding a useful direction of light, keeping the horizon under control, choosing the right camera distance, and giving the scene enough space.
Whether you are photographing a friend, a partner, or the view itself, start with the beach in front of you rather than trying to copy one exact picture.
Clean the Lens Before You Start
A phone lens can collect fingerprints, sunscreen, moisture, and fine dust during a beach trip. In strong sunlight, even a small smudge may reduce contrast or create a hazy glow.
Wipe the lens gently with a clean, soft cloth. Keep the phone away from loose sand and salt water whenever possible, even if the device has some water resistance.
Choose Your Direction of Light
At the beach, the direction of light often matters more than the exact pose.
When the sun is directly behind the photographer, the subject may be evenly lit but struggle to keep their eyes open. When the sun is behind the subject, the sky may look beautiful while the face becomes too dark.
A useful starting point is side light. Ask the person to turn slightly so the sunlight reaches one side of the face and body. This often feels softer than facing the sun directly.
During bright midday hours, try turning the subject away from direct sunlight, using open shade near a permitted structure, or taking wider photos where strong light feels like part of the scene.
Adjust Exposure Before Taking the Photo
A bright sky and darker subject can be difficult for a phone camera to balance.
Tap the person on the screen so the camera knows where to focus. If the face still looks too dark or the sky loses all detail, use the phone’s exposure control to make a small adjustment.
Avoid making the image so bright that the sky and water become flat white areas. Take two or three versions with slightly different exposure levels when the light is changing.
Keep the Horizon Straight
The line where the water meets the sky is one of the first things people notice in a beach photo.
Turn on the camera grid if your phone offers one. Use a horizontal grid line to help keep the ocean level. You do not always need to place the horizon in the middle.
Try placing it higher when the sand or foreground is interesting, or lower when the sky has strong clouds or sunset color. Move the phone slightly higher or lower if the horizon cuts awkwardly through the subject’s head or shoulders.
Step Back Before Using a Wider Lens
When you want to include more of the beach, the first instinct may be to switch immediately to the widest lens.
An ultra-wide view can show more sky and shoreline, but it may stretch people near the edges. Before changing lenses, take a few steps back and check the composition again.
Use the regular camera for a natural-looking portrait or medium shot. Use a wider lens when the scale of the beach, cliffs, palm trees, or sky is important, and keep the person away from the far edges.
Use the Shoreline as a Leading Line
A shoreline can guide the viewer through the image.
Instead of photographing directly toward the water every time, move so you are shooting along the curve of the beach. Place the person near that line and leave space in the direction they are walking or looking.
Take Wide, Medium, and Close Photos
Do not try to fit every part of the beach experience into one picture.
Take a short sequence:
- A wide photo showing the location.
- A medium photo showing the person and surroundings.
- A closer photo focusing on expression or details.
Changing the camera distance gives you more variety than repeating the same frame with several poses.
Photograph Movement, Not Just Still Poses
Water and wind already create motion, so beach photos often work well when the person is moving too.
Ask them to walk beside the shoreline, turn toward the view, take a few steps away, or look back while moving. Use burst mode or take several frames during the action if your phone supports it.
Keep movement slow and repeatable. A small step or turn is easier to capture and usually looks more natural than a large jump or dramatic action near the water.
Add Foreground for More Depth
A beach can look visually empty when the photo contains only a person, flat sand, and the horizon.
Look for a simple foreground element already present in the safe scene:
- textured sand
- a towel or picnic setup
- a shadow
- footprints
- the edge of a sun umbrella
Keep the foreground subtle. It should add depth without hiding the person or making the frame feel crowded.
Take Better Sunset and Silhouette Photos
Near sunset, decide whether you want to see the person’s face or create a silhouette.
For a softly lit portrait, turn the subject toward the remaining light and adjust exposure for the face. For a silhouette, place the brighter sky behind the person and reduce exposure until the body shape becomes clear.
Silhouettes work best with simple actions such as standing with some space between the arms and body, walking along the shoreline, turning toward the water, or holding a hat at the side.
Protect Your Phone and Respect the Location
Stay far enough from incoming waves to protect both the person and the phone. Do not place a phone where water, shifting sand, or people walking past could knock it over.
Avoid restricted dunes, unstable rocks, wildlife areas, and private spaces. Keep paths clear and follow local rules about tripods and photography.
Find a Camera Angle That Fits the Real Beach
A wide open beach, rocky coast, crowded resort, and quiet cove require different camera positions.
Before shooting, look at the actual scene:
- Where is the cleanest light?
- Which direction makes the shoreline useful?
- Should the photo emphasize the person, the view, or both?
- Is the phone too close, too high, or too low?
- Would a wide, medium, or close frame work best?
Pajoox helps you explore phone angles, composition guidance, pose ideas, and visual references based on the real scene in front of you. It gives you a starting point that fits the location instead of forcing one beach photo formula everywhere.
Final Thoughts
Better beach photos are not about using every camera feature at once.
Clean the lens, check the light, keep the horizon straight, and choose your distance before asking the person to change poses. Take wide, medium, and close versions, then photograph a few simple movements.
When the phone angle, light, and shoreline work together, the beach feels like part of the memory rather than just a background.