Golden Hour Photo Ideas for Better Phone Photos
Try golden hour photo ideas for portraits, city walks, parks, and sunsets, with simple phone tips for light, exposure, shadows, and framing.
By Pajoox Editorial Team · Jul 21, 2026

Golden hour can make an ordinary place feel completely different. A park path looks warmer, city windows catch the light, and even a simple portrait can feel softer and more relaxed.
But the light changes quickly. If you arrive without a plan, you may spend the best few minutes adjusting the phone, moving between locations, or deciding where the person should stand.
The most useful golden hour photo ideas are simple enough to try quickly. Notice where the sun is, choose whether you want soft light or a silhouette, and build the photo around one clear action.
Know What Golden Hour Looks Like
Golden hour usually appears shortly after sunrise or before sunset, when the sun is low and the light looks warmer and softer than it does in the middle of the day.
The useful window changes with the season, weather, and location, so check the local sunrise or sunset time before leaving. Arrive early enough to find a background and test the camera.
Look for warm light on faces and buildings, long shadows, bright edges around hair, reflections, and a colorful sky. You do not need all of these in one photo. Choose the part of the light that best fits the scene.
Start With Side Light
Side light is one of the easiest options for a natural portrait.
Place the person so the sun reaches them from the left or right rather than directly from the front. This can create gentle light across the face while keeping the eyes comfortable.
Ask the person to turn slightly toward the brighter side. Take one photo looking at the camera and another looking toward the light. If one side becomes too dark, move a small step instead of changing the whole pose.
Put the Sun Behind the Person
Backlighting can create a warm outline around the hair and shoulders.
Place the person between the camera and the low sun, but do not always position the sun directly behind the head. Moving it slightly to one side can create a clearer shape and reduce glare.
Tap the person on the phone screen to set focus and exposure. If the face looks too dark, raise the exposure slightly. If the sky becomes too bright, lower it and try moving so a tree, building, or the person partly blocks the sun.
Clean the lens before shooting. Fingerprints become especially noticeable when strong light enters the camera directly.
Try a Simple Walking Photo
Golden hour works well with movement because the low light creates long shadows and bright edges.
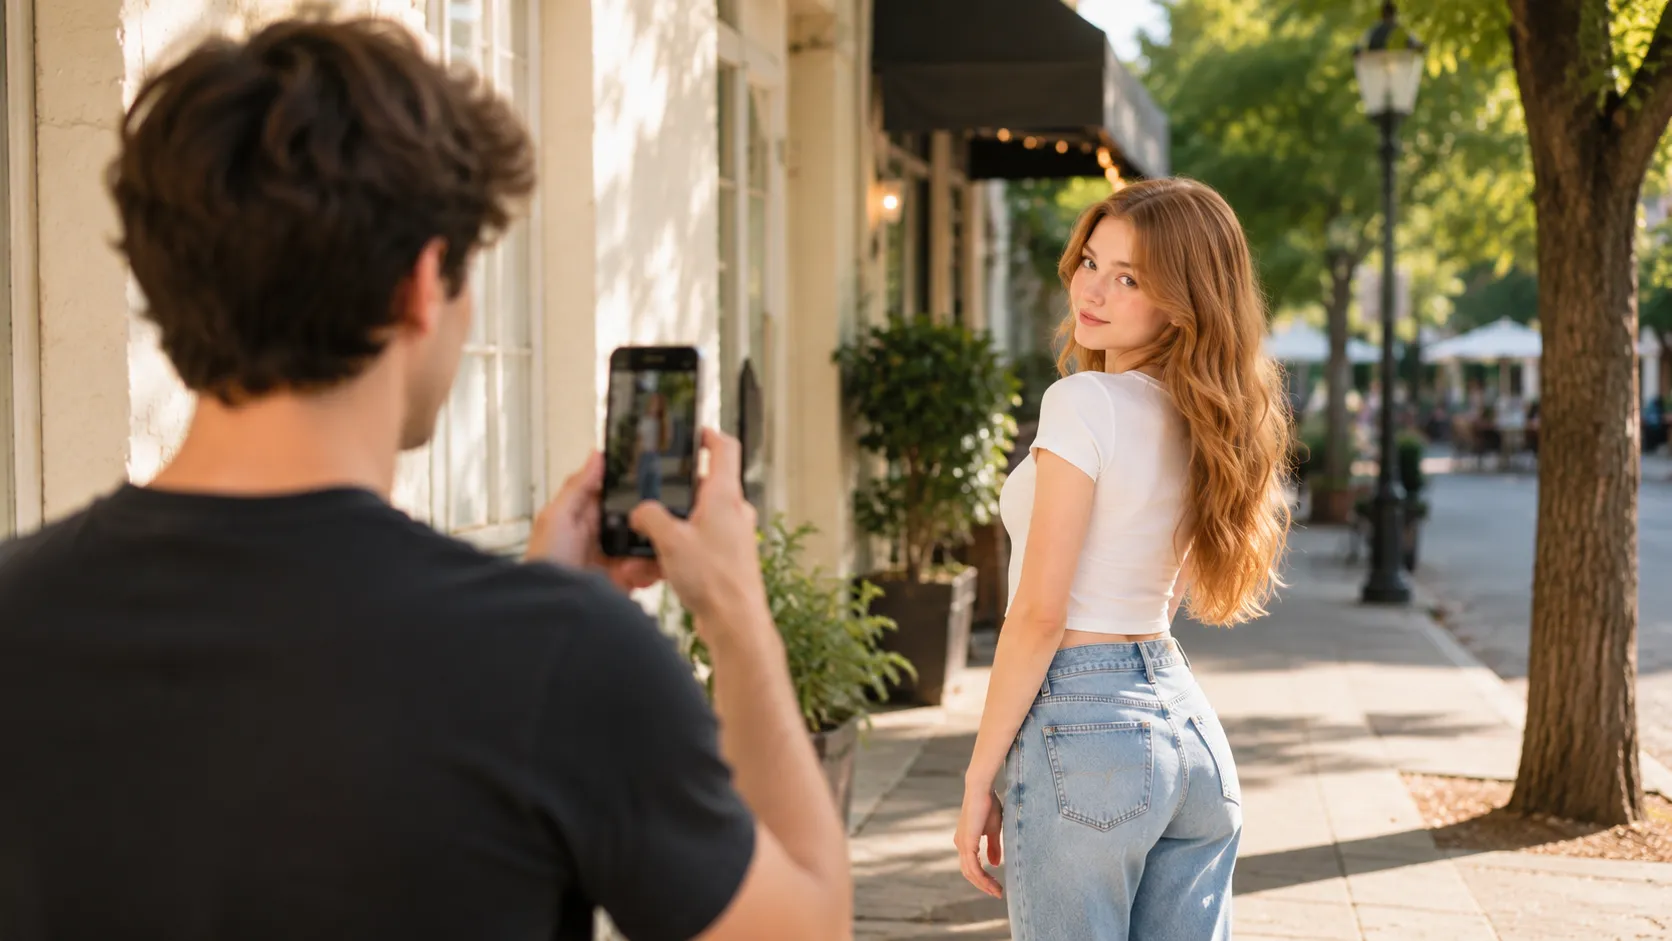
Ask the person to walk slowly along a path, across a safe pedestrian area, or through an open park. They can look ahead, turn toward the light, or glance back briefly.
Keep the action short and repeatable:
- take two or three slow steps
- turn toward the brighter side
- adjust a jacket while walking
- move past the camera
- pause and look toward the view
Start taking photos before the person reaches the planned position. The most natural frame may happen during the movement.
Use Long Shadows Creatively
Long shadows can become part of the composition.
Photograph the person and their shadow together, frame only the shadows of friends, or use a wall where the shadow creates a second shape. A slightly higher phone angle can include more of the ground, while a lower angle can make the shadow stretch farther.
Check that the photographer's own shadow does not enter the picture unless it is intentional.
Take a Silhouette Near Sunset
As the sun gets lower, silhouettes become easier to create.
Place the person against the brightest part of the sky. Tap the sky on the phone screen, then lower the exposure until the person becomes a clear dark shape.
Simple poses work best:
- standing with space between the arms and body
- walking across the frame
- looking toward the horizon
- holding a hat or bag at the side
- turning toward another person
An open sky, waterline, field, or rooftop edge makes the shape easier to read.
Match the Idea to the Location
Golden hour does not require a beach or open landscape.
In a city, look for warm light on walls, glass reflections, long sidewalk shadows, and light passing between buildings. In a park, use paths, trees, grass, or a picnic setup. At home, a window may bring the same warm light into a bedroom or living room.
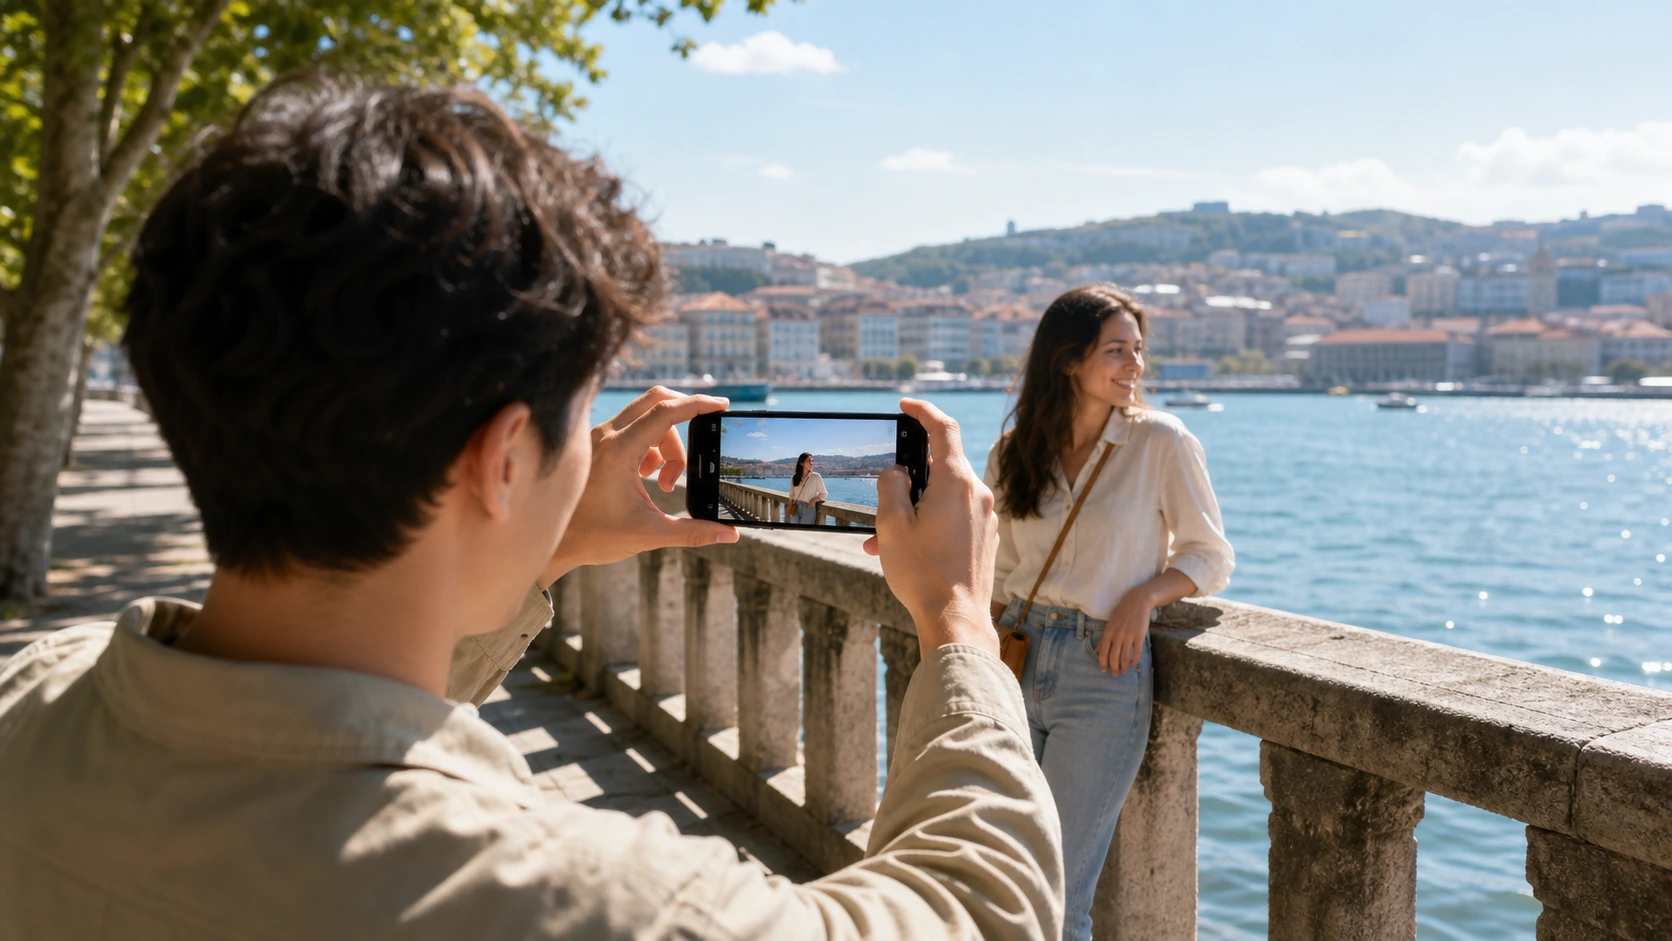
Possible scenes include walking beside a sunlit wall, sitting near a window, standing under backlit trees, taking a wider photo at a viewpoint, or photographing a quiet picnic as the light changes.
The location should help decide whether the photo feels calm, playful, candid, or dramatic.
Adjust Exposure Before Changing the Pose
When a golden hour photo looks wrong, the pose may not be the problem.
Tap the main subject on the screen and check whether the phone is exposing for the face or the bright sky. Move the exposure control slightly instead of accepting the first automatic result.
Take one version that protects the sky and another that keeps more detail on the face. Comparing a few options is often more useful than searching for one perfect setting.
Avoid heavy digital zoom. Move closer for a portrait or step back for a wider photo when the space allows.
Take Wide, Medium, and Close Versions
The light changes too quickly to create a completely new setup for every photo.
Use one location and take:
- A wide photo showing the environment and warm light.
- A medium photo showing the person and part of the scene.
- A closer portrait focusing on expression or details.
Then change only the face direction, phone height, or sun position. This gives you variety without losing time.
Find an Idea That Fits the Light in Front of You
Golden hour can look different on a cloudy day, between tall buildings, beside water, or in an open park.
Before choosing a photo idea, ask:
- Is the best light coming from the front, side, or behind?
- Is the sky or the person more important?
- Are the shadows helping the composition?
- Would movement, stillness, or a silhouette fit the scene?
- Should the phone move closer, farther away, higher, or lower?
Pajoox helps you explore pose ideas, phone angles, composition guidance, and visual references based on the real scene in front of you. Instead of forcing one golden hour setup everywhere, you can begin with the light, space, and background that are actually available.
Final Thoughts
Golden hour photos do not need complicated equipment or a long list of poses.
Arrive early, notice the direction of the light, and decide whether you want side light, backlighting, long shadows, or a silhouette. Use one simple action, take wide and close versions, and adjust the phone position before rebuilding the whole photo.
The light will keep changing, so let the session change with it. Sometimes the strongest image appears in the final few minutes, when the person, scene, and warm light briefly come together.