Amusement Park Photo Ideas for Fun, Natural Pictures
Try natural amusement park photo ideas for rides, colorful signs, friend photos, golden hour, and night scenes, with simple posing and framing tips.
By Pajoox Editorial Team · Aug 1, 2026
An amusement park already gives you plenty to photograph: bright signs, moving rides, colorful food stands, themed buildings, and friends reacting to everything around them. The challenge is taking pictures without making the whole visit feel like a long photoshoot.
The best amusement park photo ideas are quick and connected to the day itself. Walk toward a landmark, share a snack, or take one relaxed group photo while everyone is together.
Take an Entrance Photo First
The entrance is one of the easiest places to begin. Everyone is together, outfits are still fresh, and the main sign or gate immediately shows where the photo was taken.
Stand far enough away to keep the entrance visible. Instead of forming a perfect row, turn slightly toward one another or take a few steps forward together.
Try:
- walking toward the entrance
- turning back toward the camera
- pointing toward the park sign
- holding tickets or wristbands naturally
- taking one wide photo and one closer version
Keep the setup brief and avoid blocking other guests.
Use a Park Landmark as the Background
Many amusement parks have a recognizable castle, Ferris wheel, carousel, fountain, or themed building. These landmarks give the photo a clear sense of place.
Do not stand directly in front of the most important part. Move slightly to one side so the structure stays visible. The photographer may need to step back or lower the phone a little to include more height.
You can walk toward the landmark, look up at it, turn back toward the camera, or take a wider photo while talking with a friend.
Try a Walking Photo With Friends
Walking is easier than asking everyone to hold the same pose.
Have the photographer stand safely ahead or to one side while the group walks slowly toward the camera. Friends can talk, look at one another, or briefly look toward the lens.
Keep the group close enough to feel connected without letting everyone overlap. A wide walkway, themed street, or open plaza usually works better than a crowded queue.
Take a Relaxed Group Photo
For a clear group photo, arrange people in a loose shape rather than a perfectly straight line.
One person can stand half a step forward while the others turn slightly toward the center. Friends can link arms, rest a hand lightly on a shoulder, or hold something already part of the visit.
Take one camera-facing photo, then another while the group talks or laughs. Stay away from entrances, exits, and narrow walkways.
Use Snacks and Souvenirs Naturally
A colorful drink, ice cream, popcorn box, or small souvenir can show the amusement park setting and give your hands something to do.
Try taking a first bite or sip, passing something to a friend, looking down at the snack, or carrying it while walking. Keep the item low enough that it does not cover the face.
Take a separate detail photo if the item has an interesting design.
Photograph Reactions Around a Ride
The moments before and after a ride can be more memorable than a carefully posed picture.
Before boarding, take a quick photo near the attraction sign or themed entrance. After the ride, capture friends talking, laughing, or reacting while the experience is still fresh.
Do not take out a phone during a ride unless the attraction explicitly permits it. Follow all posted instructions and secure loose items before boarding.
Use Rides as Scenery
Rides can create strong shapes, lights, and movement in the background even when you are not on them.
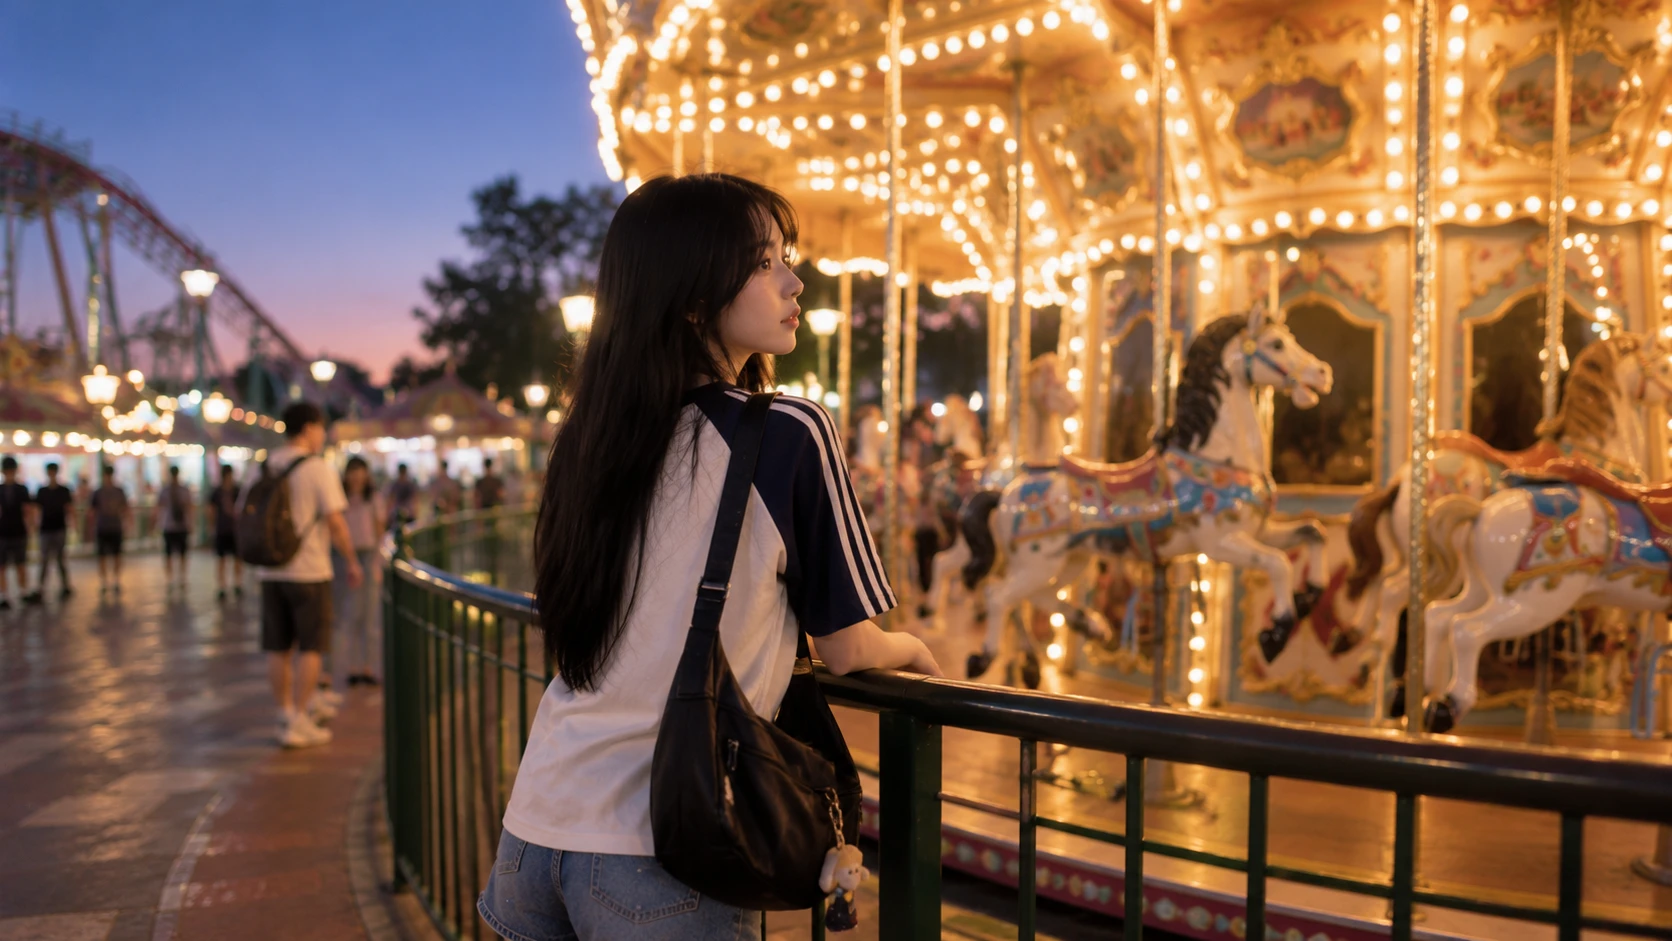
Near a carousel, try a side-angle portrait with the lights and painted details behind you. A Ferris wheel works well in a wider frame, especially near sunset. Roller-coaster tracks can add curves and lines to the sky.
Stay inside public viewing areas. Move the phone left or right until the ride supports the composition instead of cutting awkwardly through the subject.
Take an Outfit Photo Early
If you planned an outfit for the visit, take the full-body photo before the park becomes crowded or everyone gets tired.
Look for a simple wall, themed storefront, open plaza, or clean stretch of path. Start with the phone around waist or chest height and keep it straight.
For a natural pose:
- shift your weight onto one leg
- take one slow step
- hold a bag strap
- adjust a sleeve or accessory
- look away and then back
Take a full-body frame, a medium frame, and one closer detail.
Use Golden Hour for Softer Photos
Late-afternoon light can make park streets, ride structures, and portraits feel warmer.
Place the sun to the side for soft light across the face, or behind the subject for a bright edge around hair and clothing. A Ferris wheel, castle, or open skyline can work especially well in a wider golden-hour photo.
Choose one location and keep the movement simple.
Try Night Photos With Park Lights
After dark, signs, ride lights, fountains, and themed buildings can create strong backgrounds.
Find a place where some light reaches the face. A bright attraction behind the subject may look impressive, but the person can become too dark without nearby light.
Hold the phone steadily, tap the subject to focus, and avoid heavy digital zoom. Take several frames because movement can create blur in lower light.
Direct flash can create a playful look when allowed, but avoid using it toward performers or nearby guests.
Keep the Visit Safe and Comfortable
Amusement parks are active public spaces. Do not climb railings, sit on barriers, enter restricted areas, or stop in front of exits for a picture.
Keep phones and bags secured before rides, follow attraction-specific rules, and listen to park staff. Avoid walking backward while filming or photographing in a crowded area.
The photo should fit into the visit, not create a hazard or hold up other guests.
Find an Idea That Fits the Park
A classic fairground, movie-themed park, indoor attraction, and large resort park do not offer the same light, colors, or landmarks.
Before taking the photo, ask:
- What makes this part of the park recognizable?
- Is the person, group, outfit, or attraction the main focus?
- Is there enough space for a walking photo?
- Would the scene work better during the day, golden hour, or at night?
- Can the picture be taken without blocking anyone?
Pajoox helps you explore pose ideas, phone angles, composition guidance, and visual references based on the real scene in front of you. Instead of copying one amusement park pose everywhere, you can begin with the landmark, lighting, space, and people who are actually there.
Final Thoughts
The best amusement park photos usually come from moments that already belong to the day.
Start with the entrance, take one relaxed group photo, use a recognizable landmark, and capture a few real reactions. Add an outfit shot, a golden-hour frame, or a night photo when the setting changes.
Keep each setup quick, follow park rules, and leave room to enjoy the rides and people around you. A small set of varied photos will often tell the story better than taking the same picture in every part of the park.