Street Photo Pose Ideas for Natural City Walks
Try natural street photo poses for city walks, walls, storefronts, and crosswalks, with simple tips for movement, framing, and phone angles.
By Pajoox Editorial Team · Aug 7, 2026

Content:
You find a beautiful street, an interesting building, or a storefront with exactly the right colors. Then someone raises the camera, and suddenly you have no idea where to stand or what to do with your hands.
Street photos can feel harder than they look. There is plenty of space, but that also creates more decisions: how much of the city should be visible, where should the person stand, and should the photo feel posed or candid?
The good news is that natural street photo poses do not need to be complicated. A few simple movements—walking, turning, leaning lightly, or interacting with the surroundings—can make a city photo feel much more relaxed.
Start With the Street, Not the Pose
Before deciding how to pose, take a moment to look at the location.
A street may offer:
- a long sidewalk that leads into the distance
- a clean wall with interesting texture
- a storefront with strong colors
- steps, benches, or low ledges
- windows that create reflections
- building corners that add depth
These details can help shape the photo. Instead of placing someone in the middle of the frame and asking them to pose, find a part of the scene that gives them something natural to do.
A wall can support a relaxed lean. A sidewalk creates a reason to walk. A shop window gives the person somewhere to look. When the pose connects with the location, the photo feels less staged.
Try a Slow Walking Pose
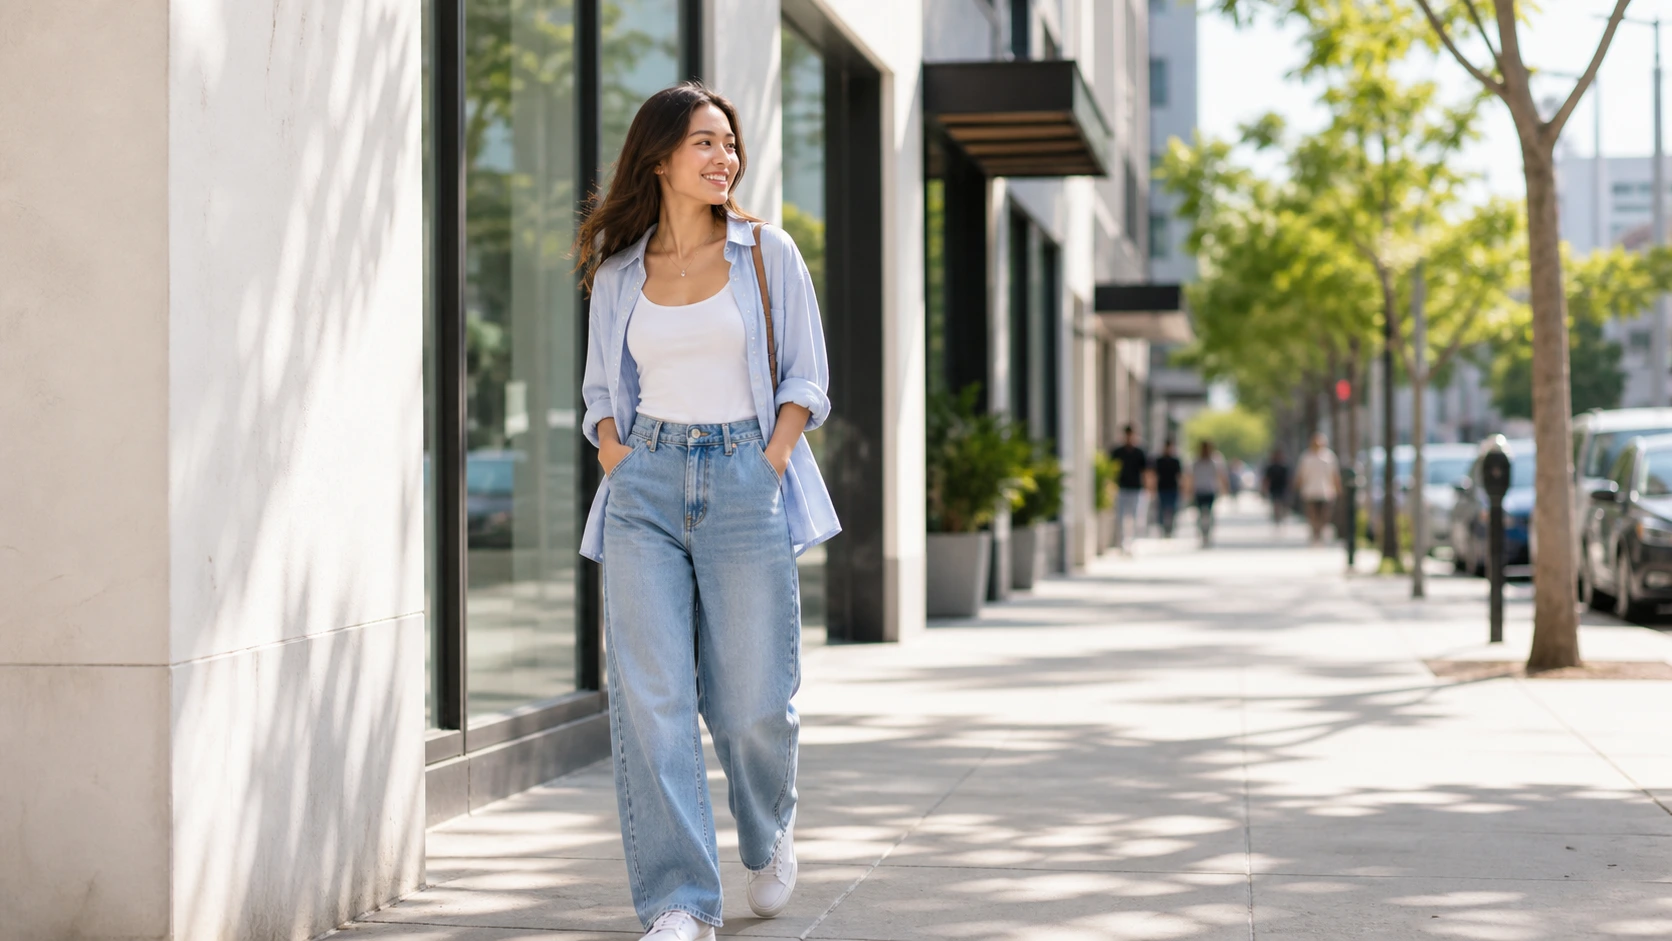
Walking is one of the easiest street photo pose ideas because it gives the body a real action.
Ask the person to walk slowly toward the camera, across the frame, or away from it. They do not need to cover much distance. Two or three relaxed steps are often enough.
While walking:
- keep the shoulders loose
- let the arms move naturally
- look ahead rather than checking the camera after every step
- take slightly smaller steps than usual
- avoid freezing when the shutter is pressed
The photographer should start taking photos before the person reaches the planned position. The best image may happen between steps rather than at the final mark.
For a more casual result, ask the person to walk past the camera instead of directly toward it. This works especially well on wide sidewalks, pedestrian streets, and paths beside buildings.
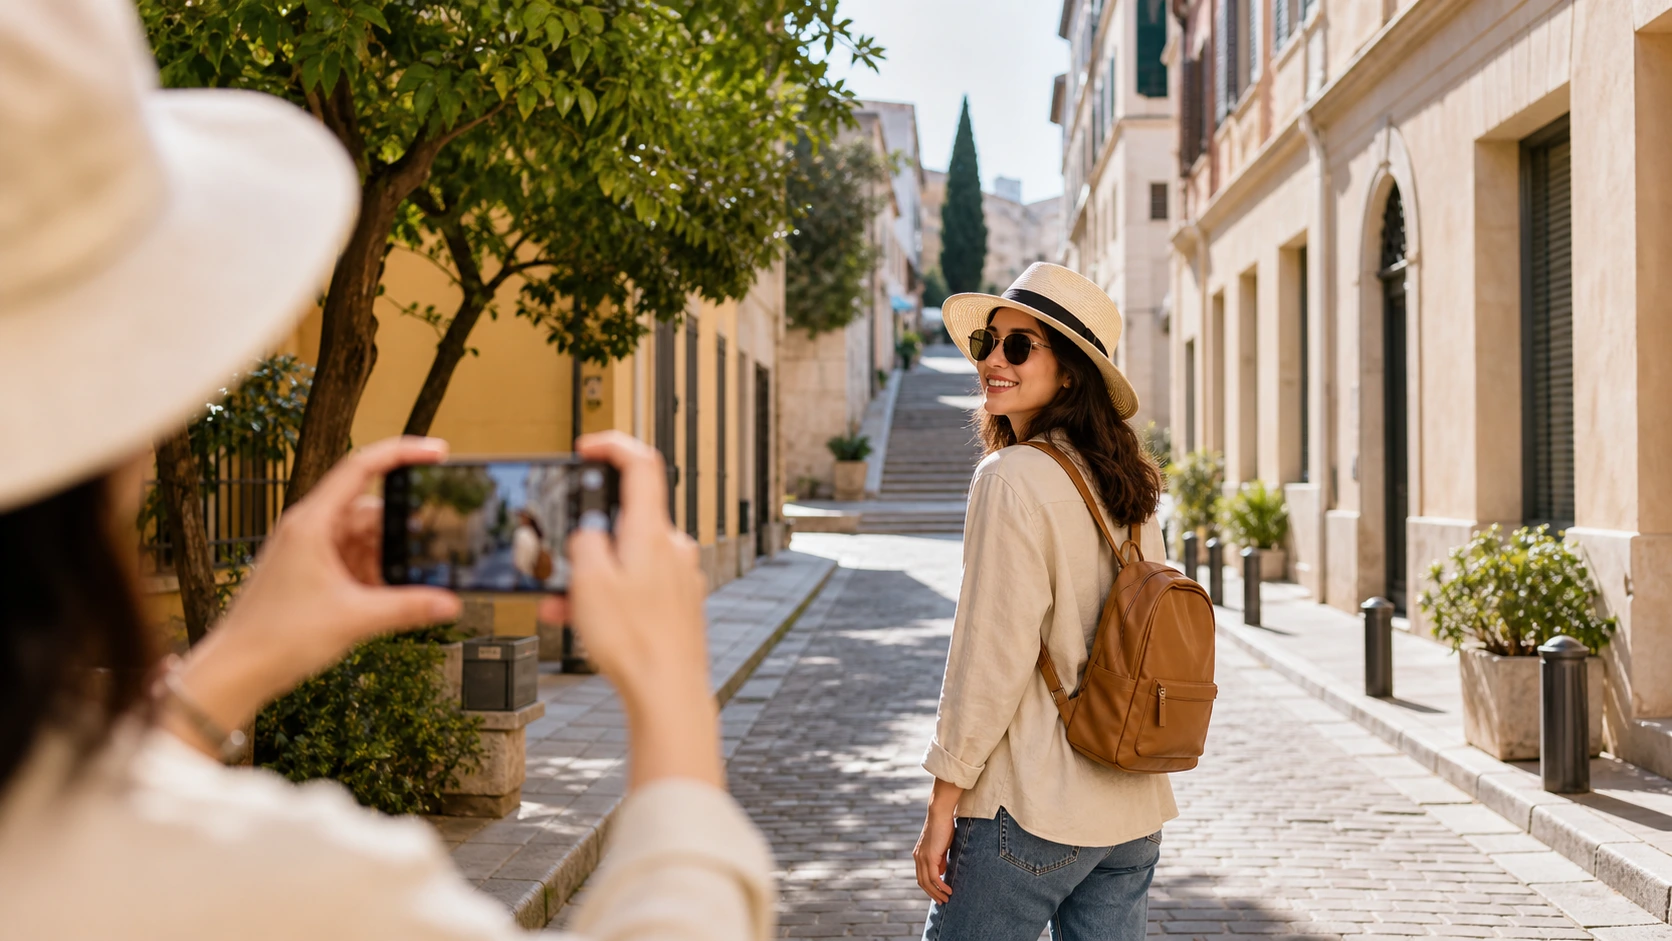
Use a Look-Back Pose
A look-back pose adds movement without requiring continuous walking.
Start with the body facing away from the camera. Take one or two steps forward, then turn the head or upper body back slightly.
Keep the turn gentle. Twisting too far can make the pose feel forced. It often looks more natural when the person turns during the movement instead of stopping first and holding the position.
This pose works well when the road, sidewalk, or row of buildings continues into the background. The direction of the person’s movement helps lead the viewer through the scene.
Lean Lightly Against a Wall
Walls are useful in street photos because they create a clear place to stand. However, pressing the whole body flat against the wall can look stiff.
Try a lighter connection instead:
- rest one shoulder against the wall
- stand a small step away and turn slightly
- place one hand gently against the surface
- lean back briefly, then step forward
- look along the wall rather than directly at the camera
Plain concrete walls create a clean, minimal look. Brick, tile, posters, and street art can add more texture.
Before taking the photo, check the background carefully. Pipes, signs, and strong lines can become distracting when they appear directly behind the person’s head or body.
Stand Near a Building Corner
A corner often creates more depth than a flat wall because it shows two sides of the building.
Place the person near the corner rather than directly covering it. They can turn slightly toward one side, rest a hand near the edge, or look around the corner.
The photographer can move left or right to decide how much of each wall appears in the frame. A small change in camera position may make the street look much deeper.
Corners are especially useful when one side leads toward a sidewalk, storefront, alley, or row of buildings.
Give Your Hands a Simple Task
Hands often feel awkward when they are placed without a reason.
Instead of creating a complicated hand pose, use a small everyday action:
- adjust a sleeve or jacket cuff
- hold the strap of a bag
- touch a collar
- place one hand loosely in a pocket
- check a phone
- move hair away from the face
- hold a takeaway cup naturally
One hand can have a task while the other stays relaxed. Avoid arranging both hands too carefully, as this can make the pose feel rehearsed.
For outfit photos, make sure the hands do not cover the main clothing details you want to show.
Use Storefronts and Windows
Storefronts can add color, light, and a sense of place to a street photo.
Instead of standing directly in front of the window and facing the camera, try interacting with it:
- look at something in the display
- walk past the storefront
- stand to one side of the entrance
- use the reflection as part of the frame
- turn toward the light coming from the window
Glass can create interesting reflections, but it may also show the photographer or unwanted objects. Move the camera slightly until the reflection supports the photo rather than distracting from it.
Sit on Steps or a Bench
Sitting can add variety after several standing or walking poses.
Use a bench, wide step, or safe low ledge. Sit near the edge rather than leaning all the way back. Keep one foot slightly ahead of the other so the pose does not feel too symmetrical.
Natural actions include:
- looking down the street
- resting the hands loosely together
- checking a phone
- turning toward the light
- beginning to stand while the photo is taken
Always choose a safe surface that is intended for sitting, and avoid blocking walkways or entrances.
Frame the Person With the City
A good street photo should show why the location was worth photographing.
Look for visual elements that guide the composition:
- sidewalks and road markings
- repeating windows or streetlights
- space in the direction the person is moving
- clean areas behind the face
- doorways or buildings that create a frame
- foreground objects that add depth
The person does not always need to stand in the center. Placing them on one side can leave room for the street, architecture, or direction of movement.
Take both wide and close versions. A wide shot captures the place, while a closer photo can focus on expression, outfit details, or movement.
Choose a Phone Angle That Fits the Scene
Eye level is a reliable starting point for most street portraits. It keeps the perspective natural and works well for both full-body and half-body photos.
A slightly lower angle can include more of a tall building or make the street lines feel stronger. A slightly higher angle may work when the person is sitting or when the pavement has an interesting pattern.
Keep these changes subtle. Before asking the person to try a completely different pose, move the phone:
- one step farther back
- slightly to the left or right
- closer to eye level
- lower enough to include useful architecture
Sometimes the pose is already working—the camera simply needs a better position.
Keep Crosswalk Photos Safe
Crosswalks can create strong lines and a clear sense of movement, but safety comes first.
Use pedestrian crossings only when you have the right of way. Do not stop in active traffic or ask someone to stand in the road while vehicles are moving. A pedestrian plaza, quiet crossing, or sidewalk beside road markings can create a similar city look more safely.
Stay aware of cyclists, vehicles, signals, and other pedestrians. The photo should never require ignoring the environment around you.
Find a Pose That Fits the Real Scene
A pose that works beside a plain wall may not make sense in front of a colorful storefront or on a wide city avenue.
When you are unsure what to try, look at the scene first:
- Where is the cleanest background?
- Which direction is the light coming from?
- Is there a wall, corner, path, or reflection to use?
- Would movement or stillness suit the location better?
- How much of the city should remain visible?
Pajoox helps you explore pose ideas, phone angles, composition guidance, and visual references based on the real scene in front of you. Instead of choosing a random pose first, you can begin with the location and find an idea that belongs there.
Final Thoughts
Natural street photo poses are usually built around simple actions: walking, turning, leaning lightly, adjusting clothing, or interacting with the surroundings.
You do not need a dramatic pose to make an urban photo interesting. Start with one small movement, give your hands a purpose, and let the architecture help shape the frame.
Take several photos while moving between poses, and try both wide and close framing. The most natural image may appear in the moment before you think you are ready.